From Concept to Creation: The Custom Woodworking Process
If you own a home, one of the most exciting moments is when you finally get to do some renovations.
It feels amazing to be able to bring your design ideas into reality, add a personal touch to the various rooms in your house, and allow your unique style to shine through the beauty of your home.
That being said, one of the best ways to do this is by adding design elements to your home that feature the natural magnificence of wood.
Whether it’s a floating staircase, crown moulding, a custom kitchen design, or something else entirely, practically any renovation can be enhanced by the distinctive beauty of wood.
But regardless of how thrilled you might be to renovate your home, if you’re not well-versed in custom woodworking, this can seem like a pretty stressful process.
As you come up with ideas, you’re never quite sure if they’re going to work, and sometimes it’s tough just to figure out what exactly you want, especially if you don’t work with wood for a living.
At any rate, one of the best things you can do to alleviate some of the anxiety associated with these renovations, and feel more confident in the design choices you’re making, is to ensure you understand the custom woodworking process.
So, if you’re looking to renovate your home, but you’re not quite sure what’s involved, and you want to prepare yourself for what’s to come, then you’re going to want to keep reading.
Because in this article, we’re going to walk you through the entire custom woodworking process, from concept to creation, and everything in between.
The Custom Woodworking Process
Here at Truwood, we’re committed to doing everything we can to make your experience a pleasant one, and we’ll work with you to ensure you understand every step of the process and are fully satisfied with the finished product.
With that in mind, below we’ve laid out each step of our process, so you can be properly prepared.
Step 1: The Consultation
During the first step in the custom woodworking process, we’ll meet with you to discuss your vision for the project.
This will include things like discussing the function of the renovations, any specific design preferences, and the intended location for the finished product.
During this consultation, we’ll also take measurements, if possible, and assess any unique requirements or challenges that might affect the design or construction of whatever it is you want us to create.
Step 2: The Design Phase

Once we have a clear understanding of your needs and preferences, then we’ll begin the design phase of the project.
This involves things like sketching out rough designs, creating detailed 3D renderings, or producing physical prototypes, if necessary.
During this phase, we’ll work together with you to refine the design and make any necessary adjustments so we can ensure that the final product will meet your needs and specifications.
Step 3: Selection of Materials
With the design finalized, next, we’ll turn our attention to selecting the appropriate materials for the project.
This involves things like picking a specific type of wood, selecting hardware and fixtures, or sourcing other materials required for the renovations.
During this phase, we’ll also take into consideration any specific finishes or stains you’ve requested, so we can make sure that the final product is exactly as you’ve envisioned it.
Step 4: Construction
With the design and materials selected, the next step is to begin the construction phase of the project.
Typically, this will entail using a variety of woodworking tools and techniques to cut, shape, and assemble the various components required to complete the renovations.
Depending on the complexity of the design, the construction phase can take anywhere from several days to several weeks or even months if you’ve got a really big project.
Step 5: Finishing
Once the construction phase is complete, then we’ll move on to the finishing phase of the project.
This involves things like applying a stain or finish to the wood, adding hardware or fixtures, or adding any other final touches required to finish your renovations.
This stage in the process is particularly important, as it helps to ensure that you’re going to be fully satisfied with the finished product.
Step 6: Installation

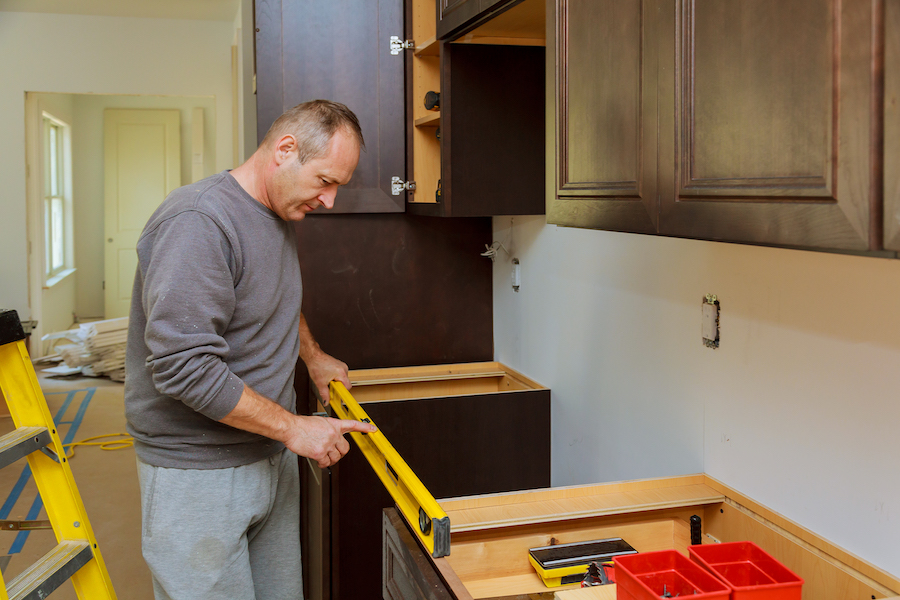
With everything ready to go, the next step is to install all of the finished components in your home.
Depending on the size and complexity of the renovations, this might involve simple assembly or more complex installation procedures.
Whatever the case, once everything is installed, we’ll do any touch-ups or adjustments that are required to ensure everything meets your needs and specifications.